Hey everyone! I’ve noticed that some folks are a bit hesitant about making bread, thinking it’s too much effort with all that kneading and rising. But let’s talk numbers – homemade bread can cost around $1.25 compared to store-bought at $3.00. Imagine the savings over a month! Every little bit counts, right?
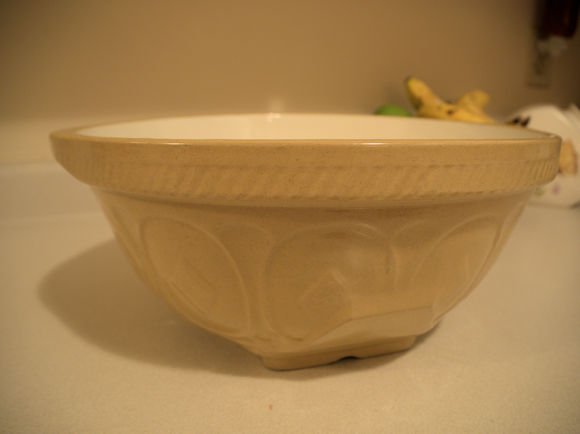
And here’s a little secret: making bread is special to me. It’s like having my Dad close by, especially when I use his old antique mixing bowl. It’s almost like getting a big hug from him! Dad was a master at bread-making, and I feel that tradition lives on every time I bake.


I’m excited to share with you a simple, no-knead bread recipe that’s practically fail-proof, as long as you use good quality ingredients – they really are the key!
First things first, let’s talk about yeast. If you’ve got a packet that’s been sitting in your cupboard since forever, it’s time to say goodbye to it. Fresh yeast is essential for great bread – it doesn’t have to be fancy or expensive, just fresh. And don’t skip proofing your yeast! It’s better to test a small amount than to risk a whole batch of bread, right?
Now, here’s something you might not have thought about: your water. Yup, that’s important too! When I moved from the countryside to the city, I didn’t realize how the chlorinated and fluoridated water could affect my bread. It was messing with my yeast! If you’re unsure about your water quality, try leaving it out for 24 hours to help get rid of those chemicals. I always keep a couple of 2L jugs in my fridge, so I’m prepared, but it might mean a bit of planning for some. Trust me, it’s worth it for that perfect loaf!
Dad’s Simple White Bread

A freshly baked loaf of simple bread features a crisp, golden crust and a soft, fluffy interior. Its warm, inviting aroma and homemade goodness make it the perfect comfort food. Enjoy it sliced, buttered, or as the base for your favourite sandwich.
- large bowl
- medium bowl
- kitchen scale
- measuring spoon
- wooden spoon or sturdy spatula
- plastic wrap
- loaf pan
- 2 cups water (tepid, body temp)
- 2 tsp sugar
- 2 tsp yeast
- 1lb 2oz flour (weighed)
- butter (for pans)
-
Plug in your kettle. Trust me you’ll see why. In the medium bowl place 1.5 cups water and 2 tsp sugar. Stir it to dissolve the sugar. Add half a cup of boiling water. The reason you don’t want to skip this step is that yeast thrives in lukewarm water. Meaning it can’t be too hot or too cold or you will kill the yeast. Sprinkle 2 tsp yeast on top and set aside for about 10 minutes. This is proofing your yeast. When it’s ready the yeast will be bubbly.
-
Weigh your flour and place it in the large bowl. (I made two loaves) Add the salt and whisk it a bit to fluff it up.
-
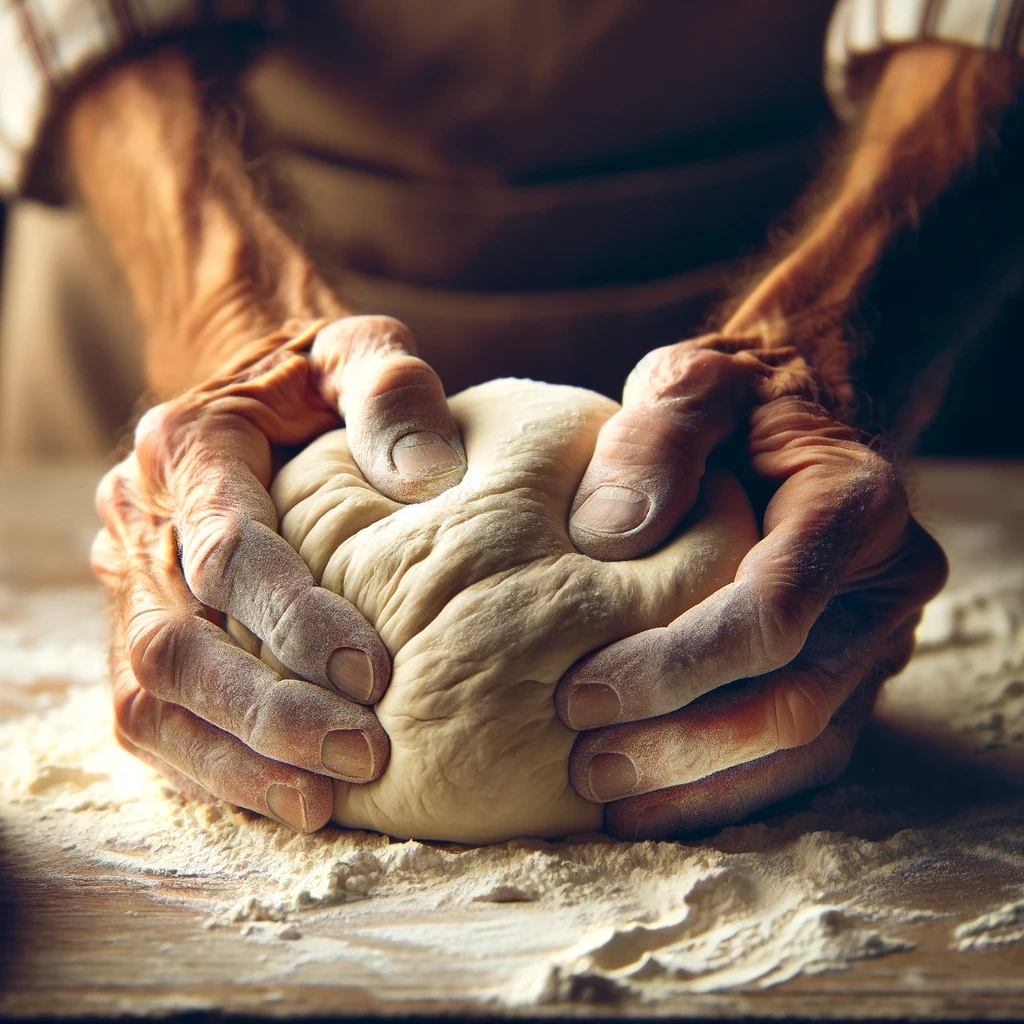
Once proofed add the water and yeast mixture to the flour and stir, beat, move around until it is well mixed. You will notice it’s quite sticky. Trust me… continue on. This is different from any other way I’ve made bread before.
-
Cover with plastic wrap and set in a warm, draft free space. I like to use the oven. Set your oven to the highest heat for about one minute and then turn it off. Put your bowl in the oven. Perfect! Let rise for 1 hour or until doubled.
-
Once you have achieved the first rise you want to release some of that air. Using your wooden spoon pull the dough from the edges of the bowl and fold it in on itself. Go all the way around the bowl until you have deflated a good portion of the air pockets.
-
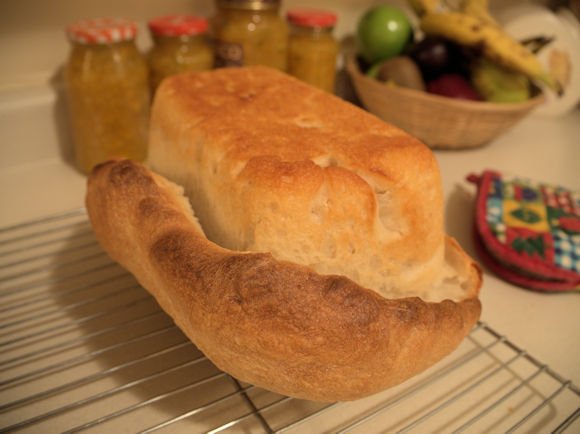
Butter your loaf pan or whatever vessel you choose and put the dough in. In the picture above please note…. this is too full. LOL! I wasn’t paying attention but it’s a good lesson that shows you it really doesn’t have to be perfect. As you can see I made two loaves. Because the dough is sticky it’s tricky to split the batch so just do your best. Sometimes I add a little more flour to the mix so that the second rising won’t spill over the edge of the pan.
-
Preheat the oven to 425 degree F. and place the bread somewhere close by. Let rise for about 30 minutes.
-
Once it has risen place it in the oven for 15 minutes.
-
At the 15 minute mark turn the heat down to 375 degree F. and continue cooking for 17 minutes.
Always Weigh Your Flour.
I hope you noticed that I listed the flour by weight. It’s important to note that weighing your flour gives you a much better product. Flour tends to settle and compact somewhat during shipping and handling so it’s hard to say what volume of flour is in a cup. AND once you feel comfortable with this recipe you can play around with different flours as long as you have the correct weight. I like to grind Roger’s Porridge blend in my food processor to create a flour. It’s tasty and I know it’s healthier than white flour.

As you can see it’s not perfect. LOL!! Not sure what happened…. I was probably paying too much attention to my camera and not enough to the bread. Oh well. The Run-over was yummy when I cut it off and buttered it. Nice and crispy! Sometimes it comes out as planned and sometimes it doesn’t. Either way it’s still yummy!
Let the bread completely cool before bagging it. I usually make two loaves. I leave one bagged loaf out on the counter and put the other one in the freezer. Easy as can be. I hope you enjoy making this bread.
Until next time friends…


0 Comments