Knitter’s Slump After the Holidays
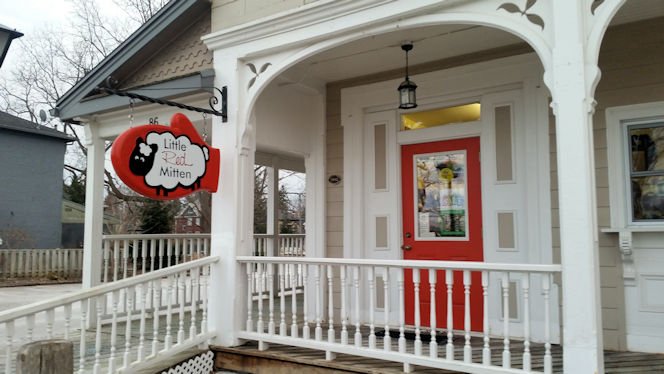
About a month a go, I bravely went to The Little Red Mitten, for knit group, with my bank card. I told myself, "Just get the 4mm Chiagoo needle tips and NOTHING ELSE!" Right! I'm sure you can all say you've been there.
Hanging teasingly on the peg board was that beautiful Orchid, multi-shade, Malabrigo wool and....it was on sale! I made myself go back to the knitting group. I pulled my knitting out of my bag, berating myself, "NO! You don't need it!"
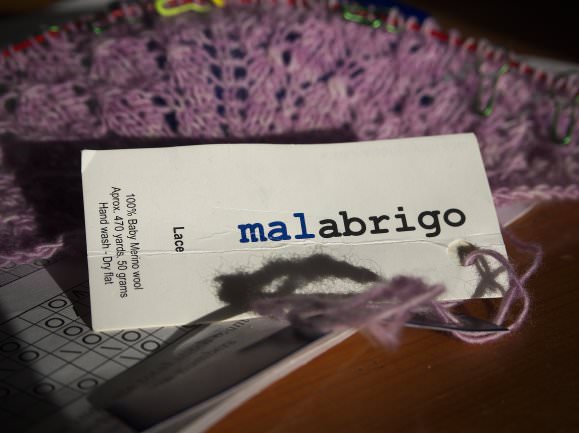
Suddenly, I stood up, grabbed my wallet and walked to the front of the shop. I knew it......all was lost......that wool was coming home with me! I mean after all, my good friend had given me a beautiful book about Estonian Lace. It doesn't have to be white, does it? Really? Imagine how happy my friend will be to see me working on a pattern from that lovely book. Perfect logic, right?
My beautiful Malabrigo wool has become the bane of my existence, my Nemesis if you will. Three different cast-ons and many rows of stitching later, I came to realize it may be some time before I find the right project. The hurdle is the preciousness of this wool. My budget doesn't typically allow for this type of expense.... so I'm a little protective of this soft, wonderful fiber.
How many of you have experienced knitter's slump?
The book "Knitted Lace of Estonia" (by Nancy Bush) was my first go to. A good friend gave me this book for Christmas. She has a copy and has knit the "Crown Prince Square Shawl" on the cover.
My friend stuck to the authentic white lace yarn. In my opinion, completing this piece would be quite a challenge. My friend not only completed it but did a beautiful job!

Thumbing through this book, trying to picture each piece knit with my orchid yarn, I decided the "Lilac Leaf Shawl" would be perfect. So I cast on and knit 32 rows.....
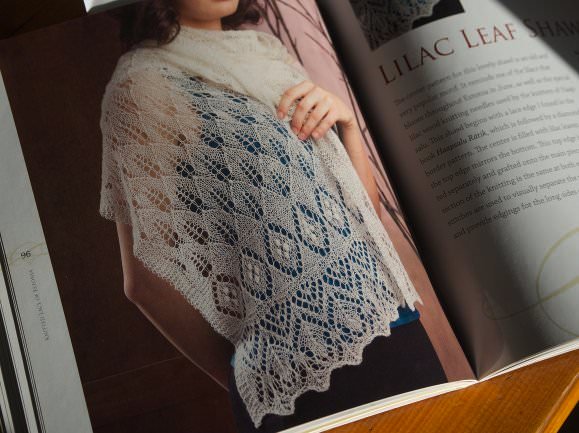
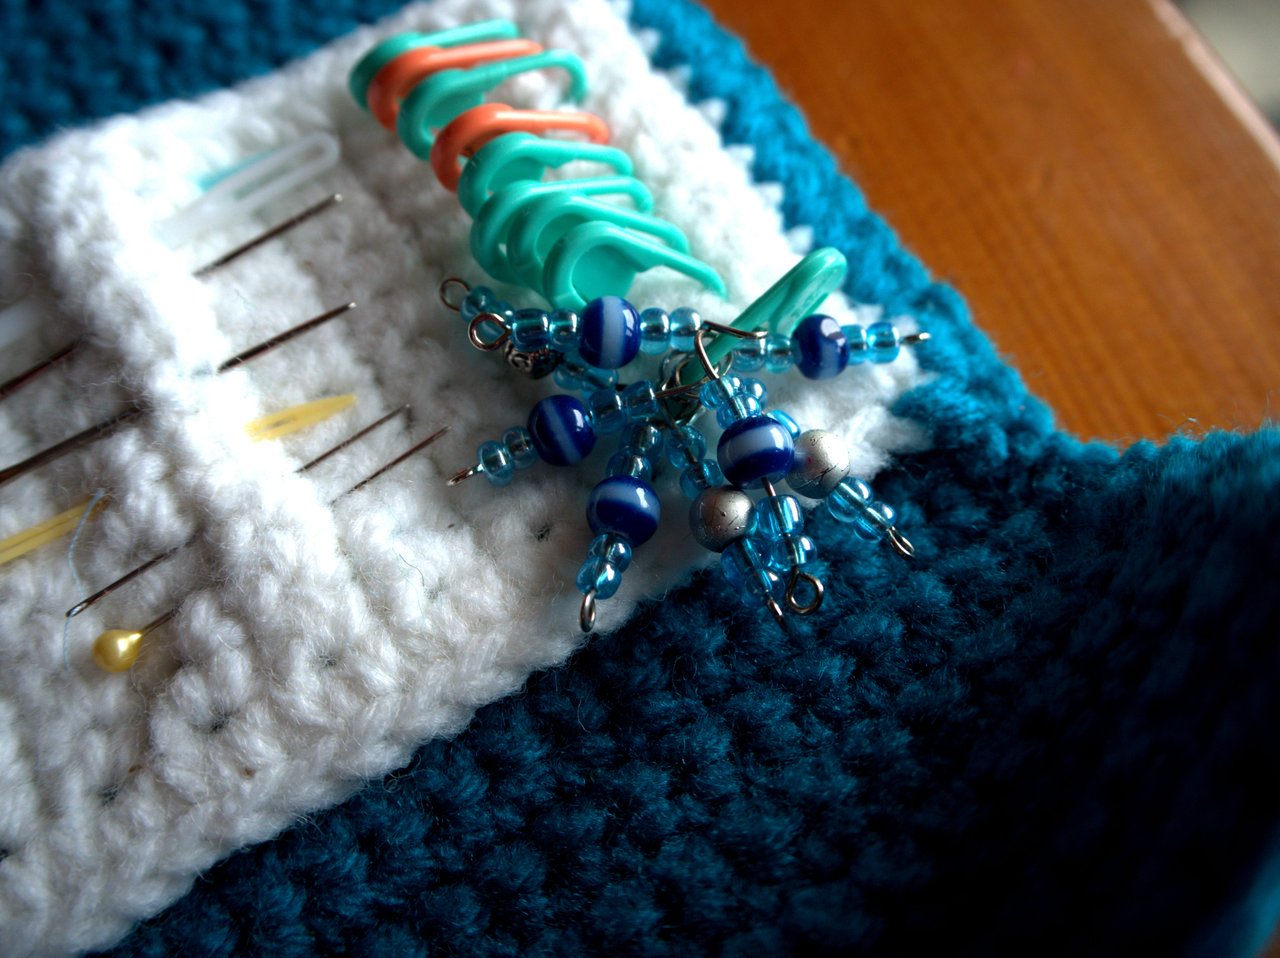
It was very pretty but I just wasn't feeling it. Nupps are a new technique and I was enjoying learning how to do those. The various little tricks to make them stand out. (Here's a tip for an Estonian Lace newbie: place a stitch marker at the beginning of your nupp and at the end. It's a Godsend on the return row.) I think my friend my be onto something.... When I tackle an Estonian Lace piece I'm going to use that ball of white lace wool she gave me.
So I pulled it out. What now? Ravelry of course! How many of you have spent countless hours surfing Ravelry? After all there must be thousands of patterns there. NOPE. Nothing really caught my eye. WTH?
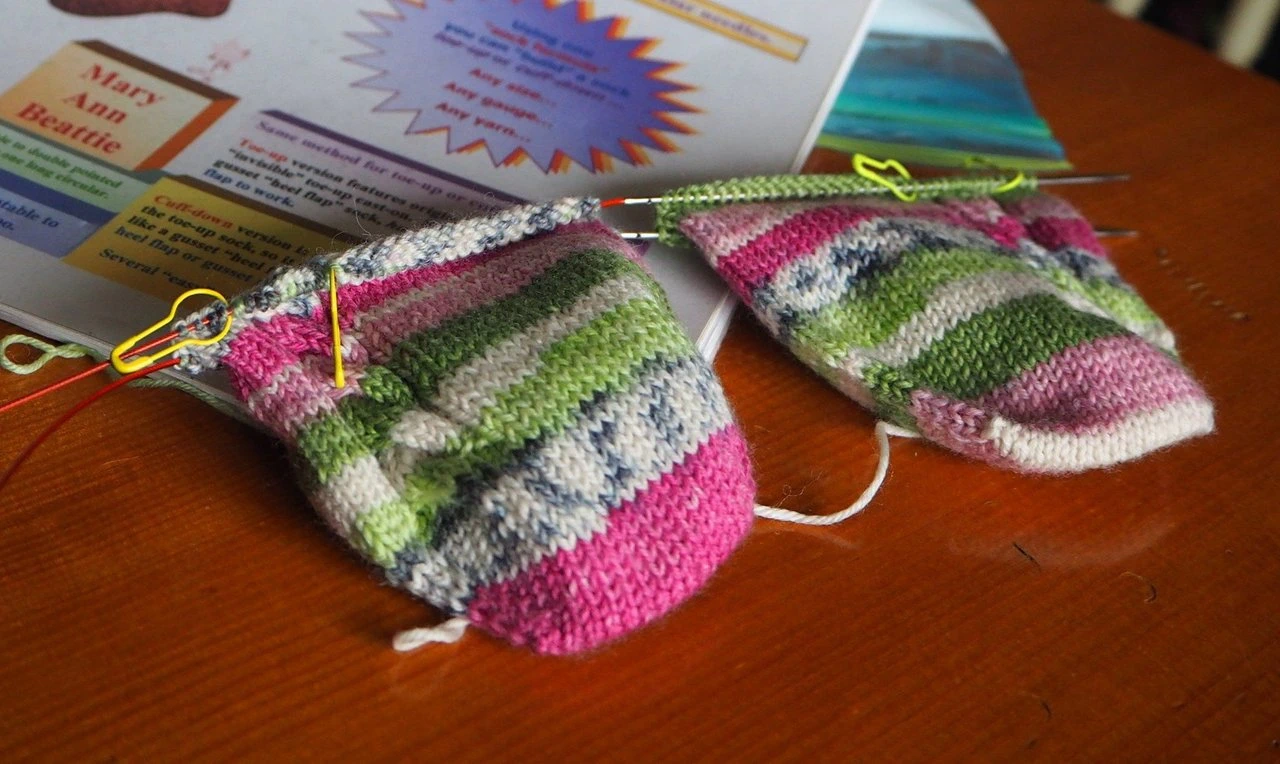
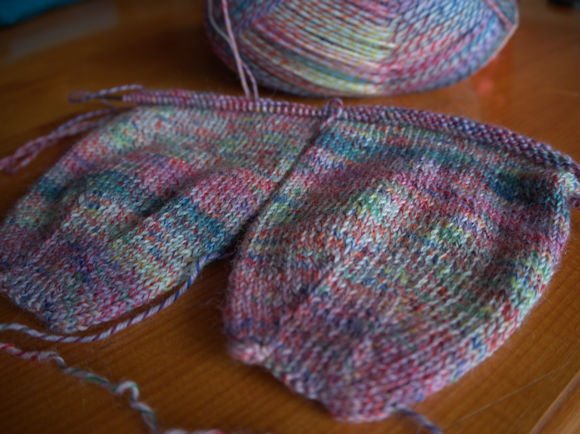
Putting this beloved wool aside I decided on Socks. Knitting socks usually fills my void and gets me fired up again... and they have, sort of. They are quite pretty I.M.H.O..
The Malabrigo was calling me again so I cast on Close to You from Ravelry Last year I made this shawl for a dear friend and it was beautiful. Simple with just enough detail to make it sing. Again, I cast on and knit for an hour. Nope.... wasn't feeling that either.
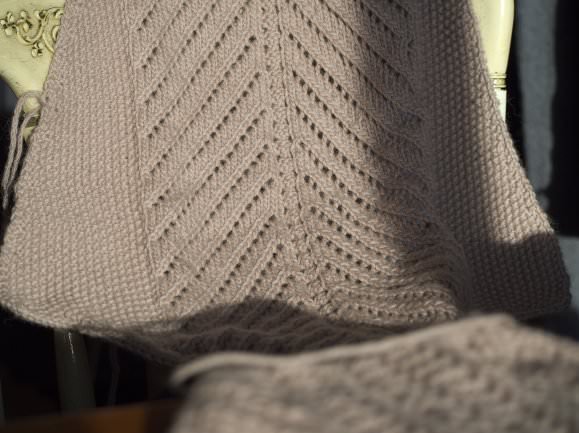
Returning to Ravelry, not yet defeated, I found the Bella Botanica Shawl. I've just started but I think it looks very pretty. I'm a process knitter which means I'm much more interested in the stitches then the project. I may change my mind and move on.
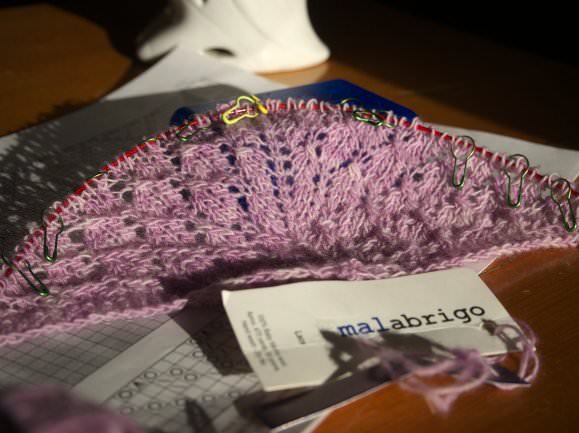
This piece is soft and light. I like the way the various shades stand out with the stitches used. The chart is easy to read and the stitches are simple. I can picture myself wearing this shawl on a spring day or a summer evening. Hopefully, I complete the shawl without loosing faith in it.
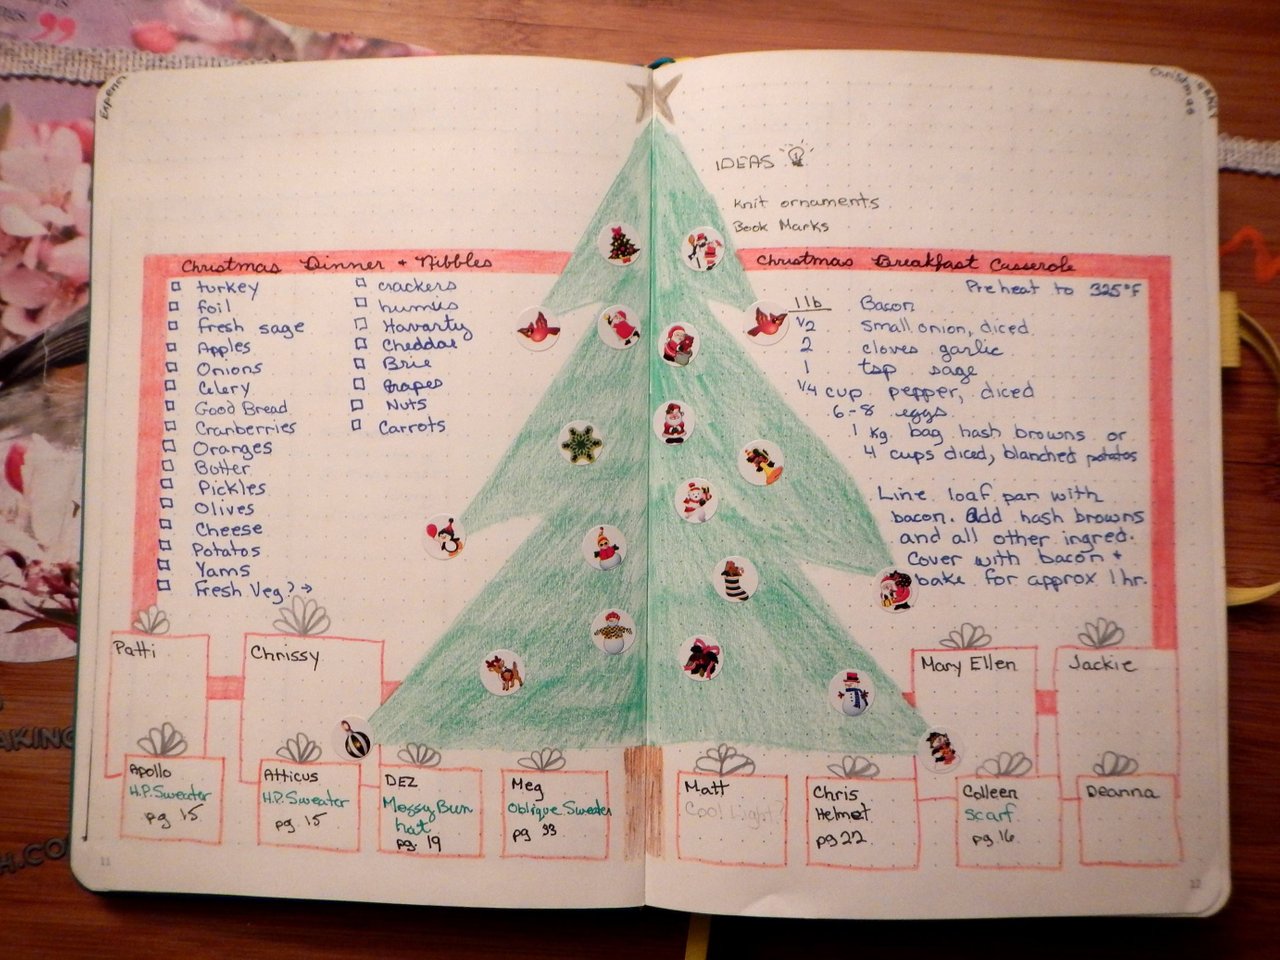
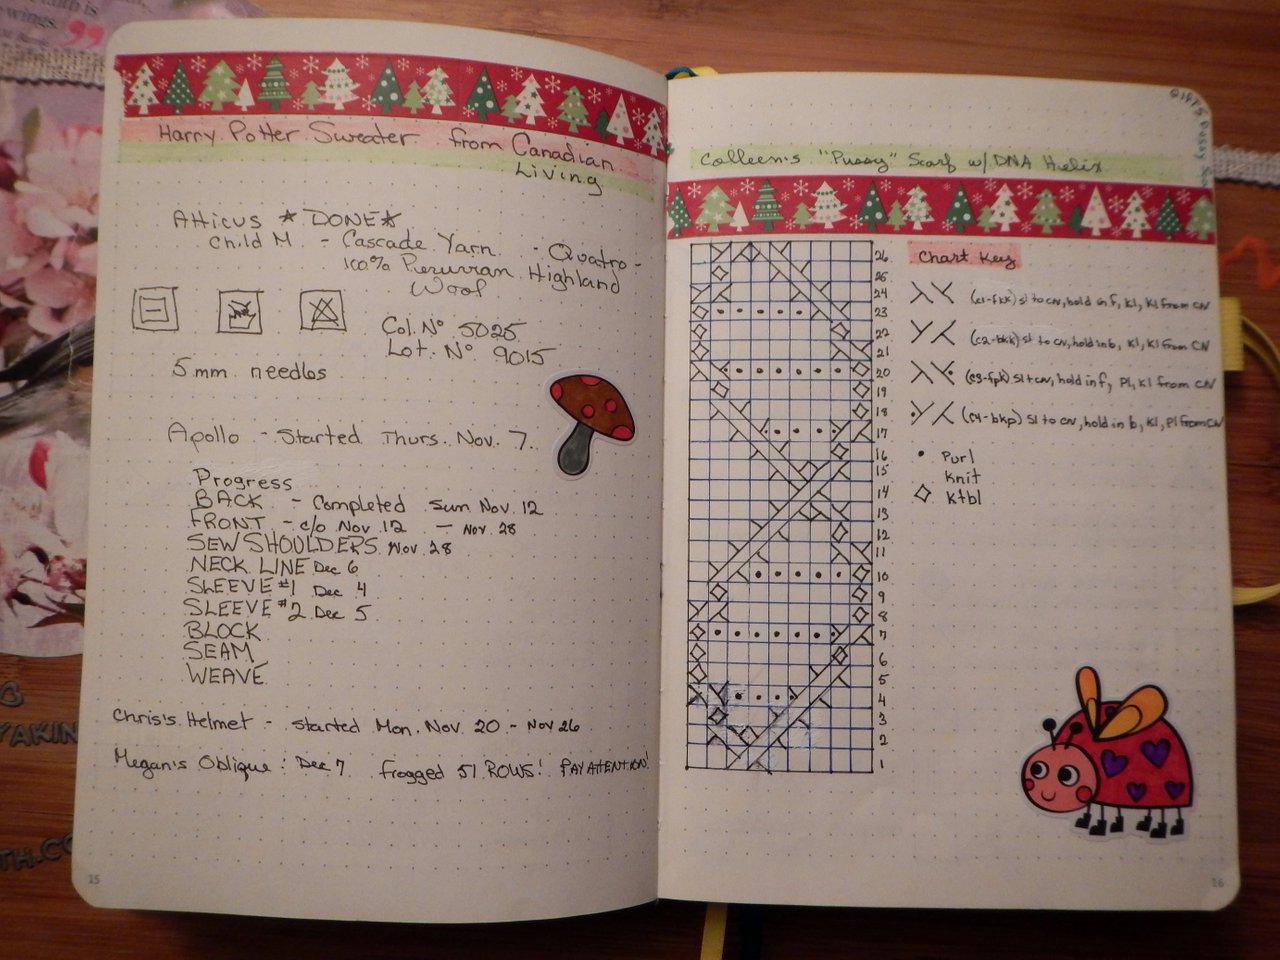
I have to think it's just an "after the holidays knitter's slump". I spent four months frantically knitting sweaters and hats. I stressed out over getting done in time to not feel stressed over Christmas. I did get them done....but I still stressed over Christmas. LOL!! I guess that's part of the appeal? As usual, I vowed to start my Christmas knitting right after New Years. Have I? Not yet but I'm going to guess I'm not alone.
Until next time friends...

